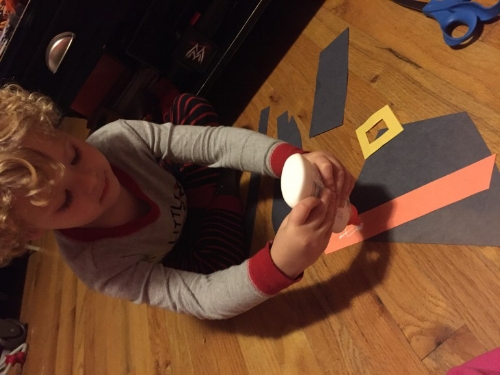
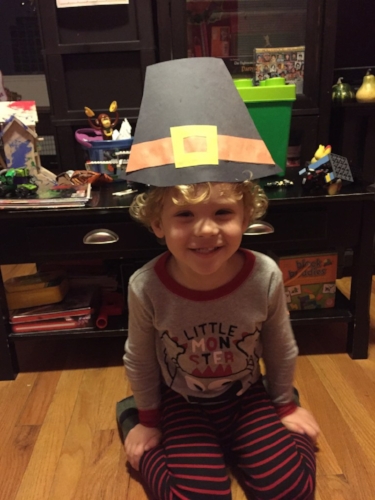
This week T has been a little under the weather, so we took it as an opportunity to do more sedentary, quiet activities. This week we made two projects: a pilgrim hat and a gratitude banner. These are two easy and fun projects. T is starting to use scissors in school so he was able to help with some of the cutting for these projects.
Pilgrim Hat
What you need:
Black, yellow, and orange construction paper
Scotch tape (for impatient toddlers)
What to do:
1. Cut two strips of the black construction paper long ways. This will later form the band that goes around your child's head.
2. Next cut out a long, thin, pointy oval. This will serve as the brim of the hat.
3. Next cut out a large trapezoid from a new piece of black construction paper for the body of the hat.
4. The orange construction paper is for the band of the hat. Place the hat body on top of the orange so you can measure the length of the band. The band should be about 1/2-1" thick.
5. Next cut a small square out of the yellow paper for the buckle. Fold it over without creasing it and cut two slits across the bend.
6. Open it up and cut out the center to have an open square.
7. Now it's time to start gluing. First glue the band along the bottom of the hat body. Center the buckle on top of the band.
8. Next glue the brim under the bottom of the hat body.
9. Tape together one end of the two strips of black paper. Then measure the band around you child's head and tape it to size.
10. Because T was impatient to wear his hat, we glued and taped the hat to the center of the band. Voila!
He wore this all evening and then has continued to put it on daily. A lot of these shapes don't have to be perfect so he was also able to help with the cutting. We even made one for baby Hailey even though she was sleeping...
Gratitude Banner
What you need:
Twine, string, or ribbon
Leaf stencil
Scissors
Clothespins, paper clips, tape
Construction paper
What to do:
1. First you need to cut out the leaf stencils. If you fill out the form below, I will send you the stencil I used!
2. One option is to print out the leaves several times, cut them out, and then use these on your banner. The other option is to trace the leaves onto construction paper or varying colors and use construction paper for your leaves. If you use the stencil, I recommend printing it out on thicker paper.
3. Once your leaves are cut, discuss with your family things you are thankful for and write them on the leaves.
4. Hang the leaves on your twine/string/ribbon with your tape/clothespin/paper clip. Here is our finished banner!
Fill out the form below and I can send you the leaf stencil for your banner. We had a ton of fun making these projects and we hope you try them out.
Happy Veterans Day!
Cheers,
Emily


