
Disclaimer: The Multitasking Mom is a participant in the Amazon Services LLC Associates Program, an affiliate advertising program designed to provide a means for us to earn fees by linking to Amazon.com and affiliated sites. Anything linked within this post are items that the author, herself, would purchase and all other content continues to be the author's own opinion.
Recently, Tyler’s class was discussing transportation at school. They talked about the various forms of transportation and as a homework assignment, they had to make a form of transportation using household items.
The intention was to use things like cardboard and buttons and egg cartons to make a bus or a train or a plane that they could take to school. My son wanted to make a car; one that he could fit in.
So, that’s what we did! Check out how we made Tyler’s little blue jalopy.
What You Need
Large box (we used a box from Amazon.com)
Dessert sized paper plates
Markers
Paint brush
Paper (white or construction)
Paper towel rolls
Straps (you can use old ties, elastic, suspenders, scarves etc.)
What to Do
1. First we found an old amazon box from a prior delivery. The short ends of the box were the perfect size, but the long ends made it more of a mini van size. So we cut down the long ends of the box to make it the perfect width for Tyler. Then we re-attached the other short end using duct tape form a smaller rectangle. You can refer to the diagram below where the purple represents the box, the dotted lines represent the cuts, and the silver dots are where we taped it back together.

2. We folded the flaps of the box in towards center to make each side of the car thicker and more study. We used duct tape to secure them in place.
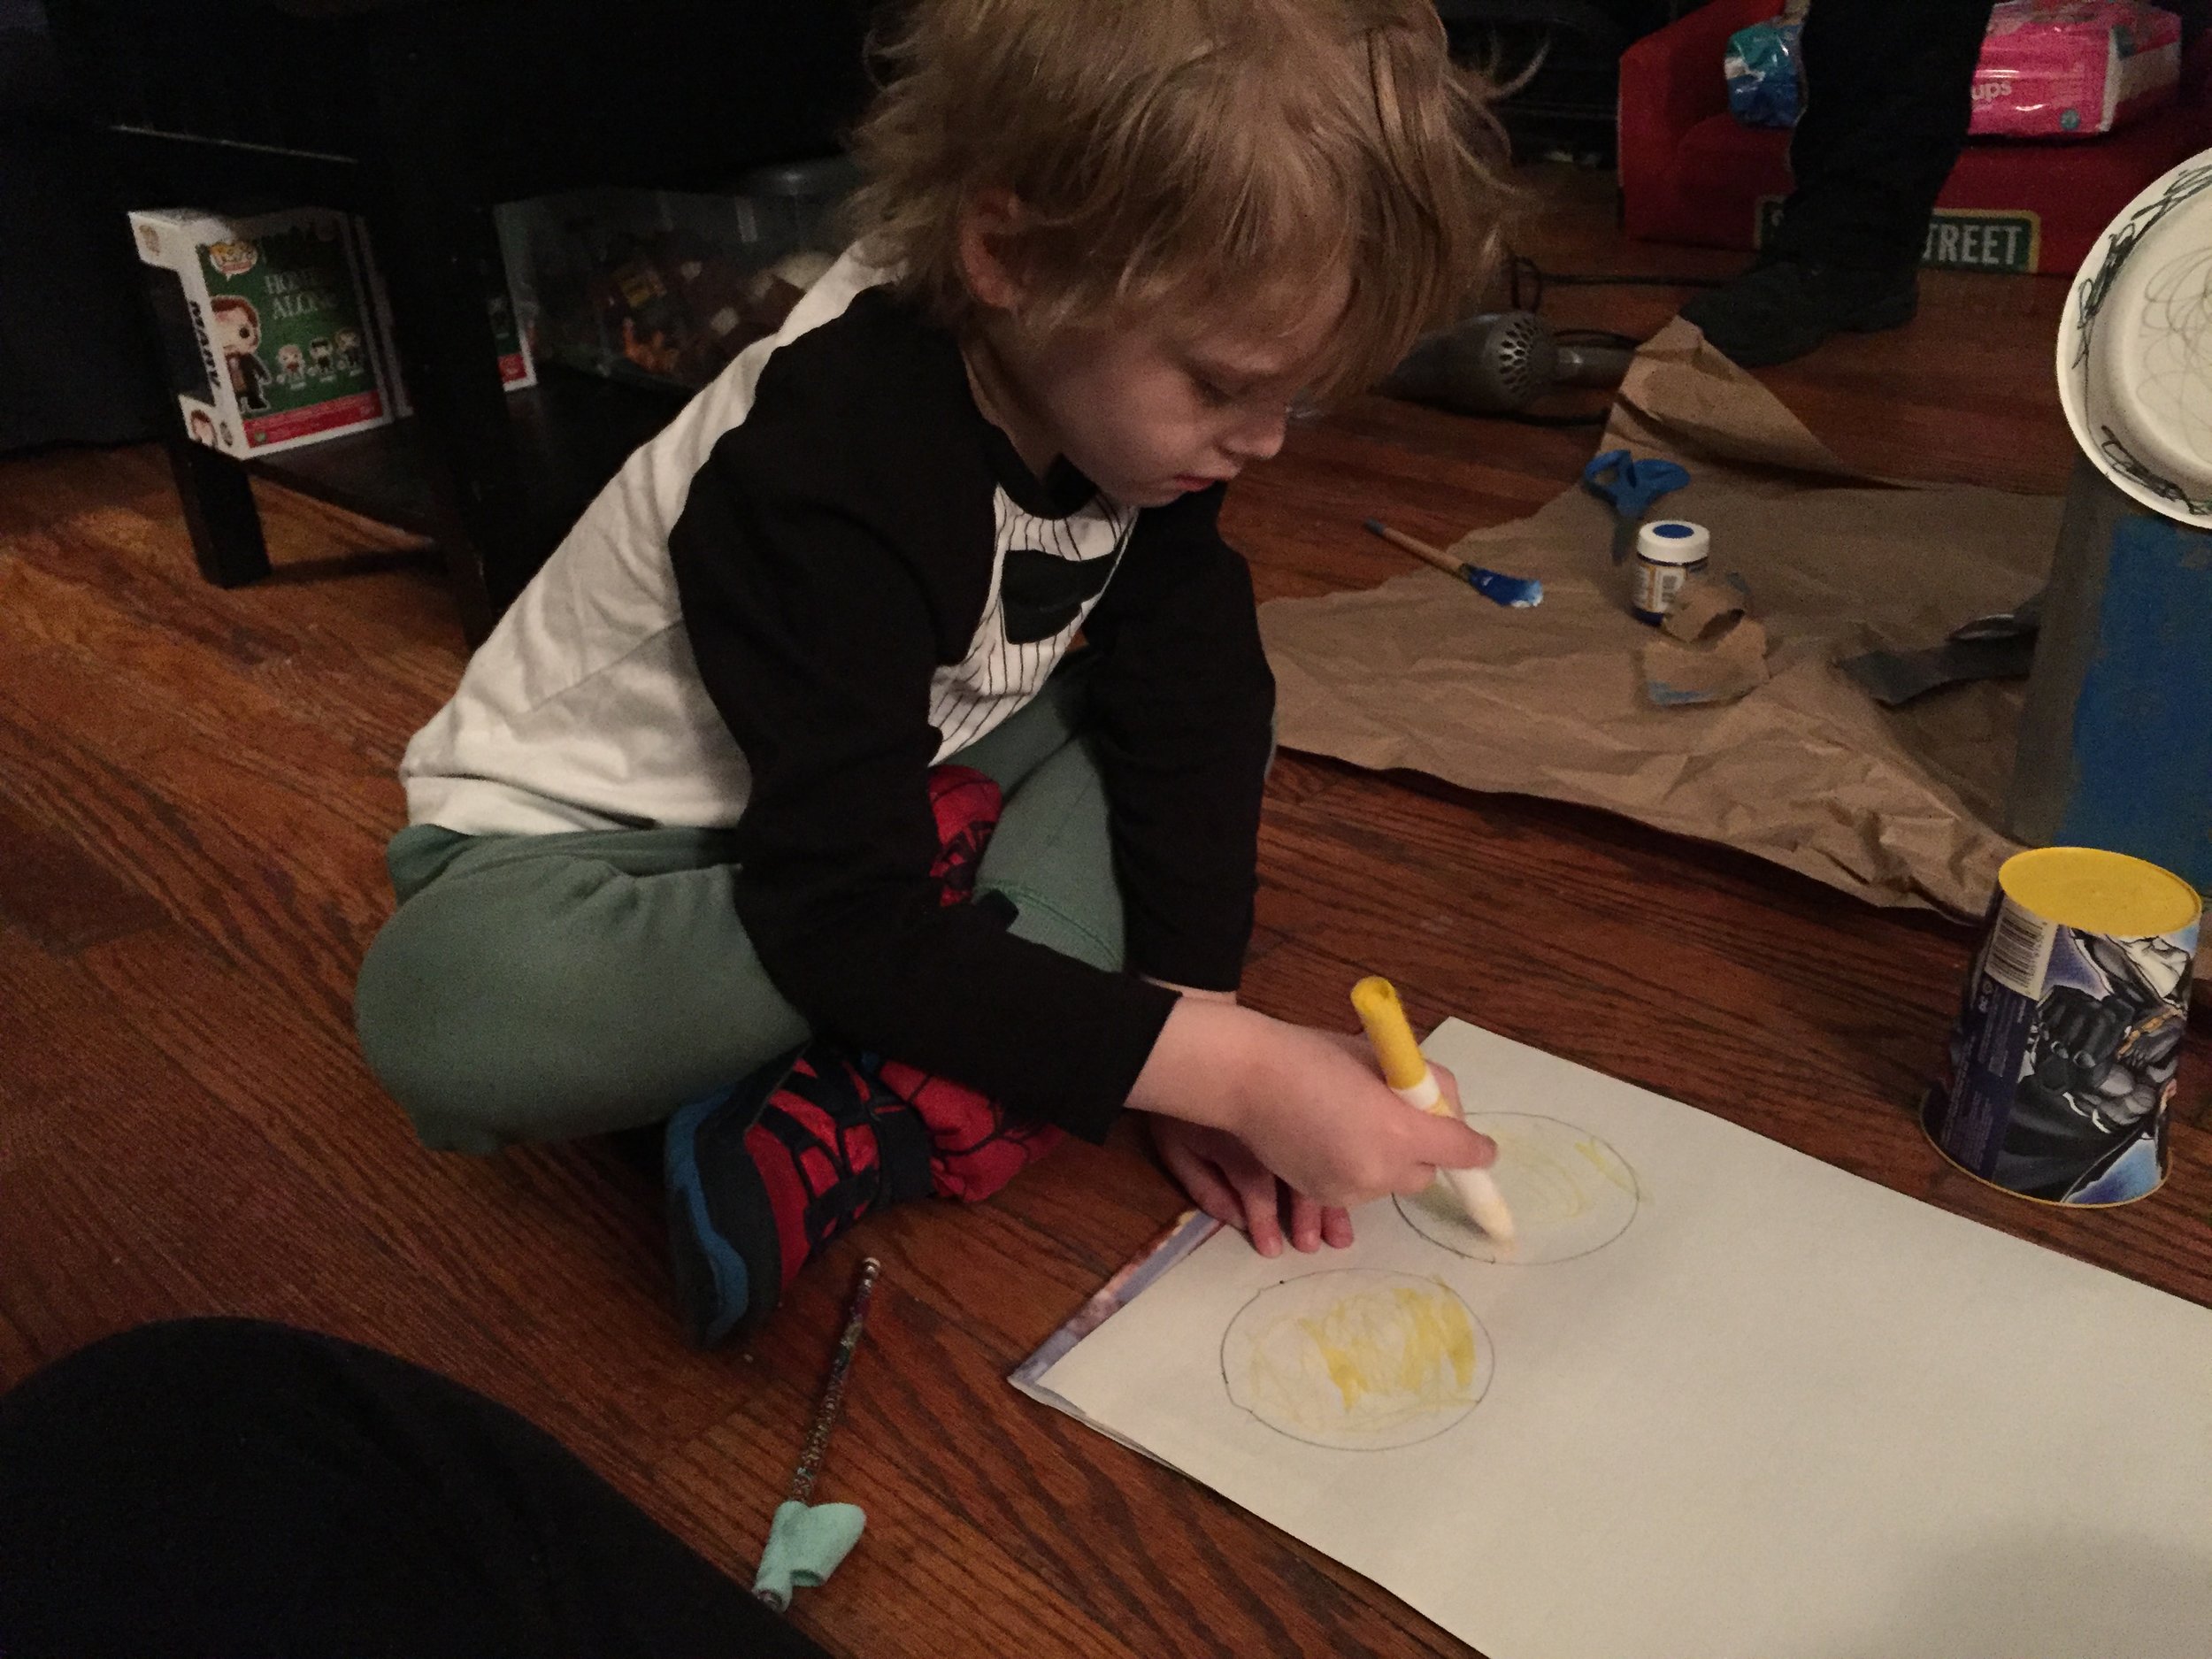
3. While we parents performed steps 1 and 2, Tyler took 5 dessert sized paper plates. He used markers to color 4 of them to be the wheels of the car and the 5th one to be the steering wheel.
4. We used long paper fasteners to secure the wheels to the box.
5. Next we took blue washable paint and Tyler painted the two sides of the car. He decided to leave the front and back as is. You can paint all 4 sides or glue on construction paper to color your car.


6. Next we used a plastic cup to trace 4 circles onto white paper. Tyler colored these with a yellow marker and then cut them out. We glued two on the front and two on the back of the car to be headlights and taillights. You could also use yellow construction paper for this part.

7. We took a paper towel roll, cut it the long way, and slipped it onto the bottom edge of the front of the car. We covered it in silver duct tape which also secured it to the car. this served as the front bumper. The same process is used for the rear bumper.
8. We used a cut down wrapping paper roll as the stem of the steering wheel. You could also use another paper towel roll. We taped one end of the tube to the inside of the front of the car. I then took the steering wheel paper plate and looped a pipe cleaner through the center. I made a small hole on either side of the stem and put the ends of the pipe cleaner through the holes and then tied the ends together. This allowed us to secure the steering wheel but also allow it to be able to turn.
9. We used elastic straps to make the car wearable. We secured one end of each strap on the inside front of the car. We then crossed the straps and secured the other ends of the straps to the inside back of the car.
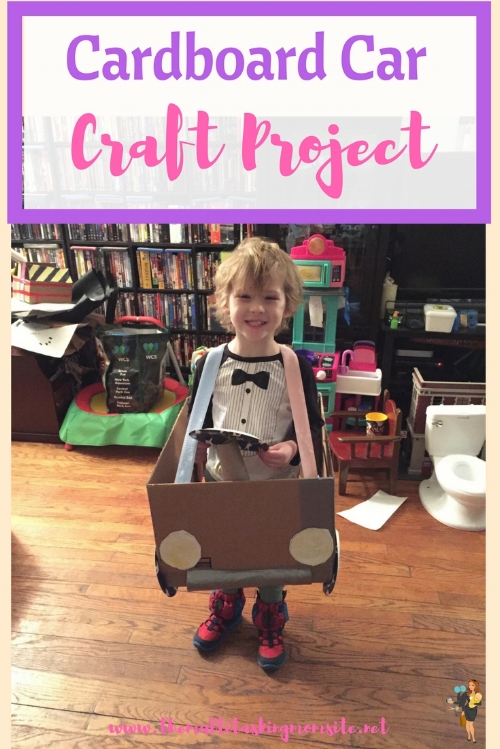
Below is the finished product!


Other additions you can make is to add racing stripes to the side of the car or a grill on the front of the car. You could also use a toilet paper roll, a small box, and aluminum foil to make a side view mirror. Maybe create your own license plate! There are tons of ways to make this project your own.
This project was a lot of fun. I loved letting Tyler come up with ideas on how we could create the parts of the car. Plus, he was so excited to show his creation to his friends at school. This is definitely a fun project that can lead great imaginative play time as well.
Cheers,
Emily